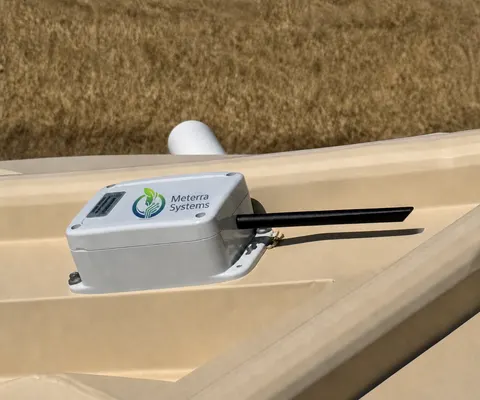
Installing the Dam & Well Level Sensor
A sealed pressure sensor sits at the bottom of the dam, pond, or well on its cable, and a small communications unit on a post at the bank sends the depth to your phone every hour. Weight the basket, place the sensor, run the cable to the post, wake the unit, and enter the depth in the app.
Guide revised October 2026. Questions or a step that does not match your unit? Call (385) 534-8200.
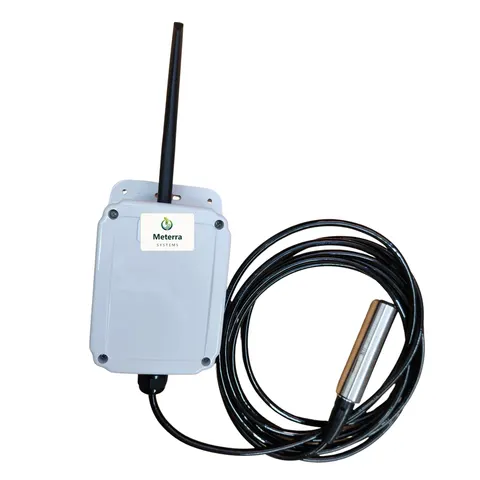
- Sensing
- Submerged pressure sensor. It measures the weight of the water above it.
- Cable
- 10 to 330 ft, built to the run from the sensor to the post, not just the depth
- Reporting
- A reading every 60 minutes; more or less frequent on request
- Battery
- 2+ years
- In the box
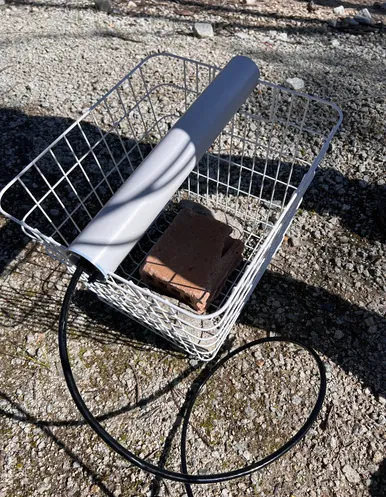
- Sensor on its cable, communications unit, a basket that keeps the sensor out of the mud, and a valve box for the spare cable
- Alerts and users
- Level alarms to your phone; unlimited user access
What you are installing
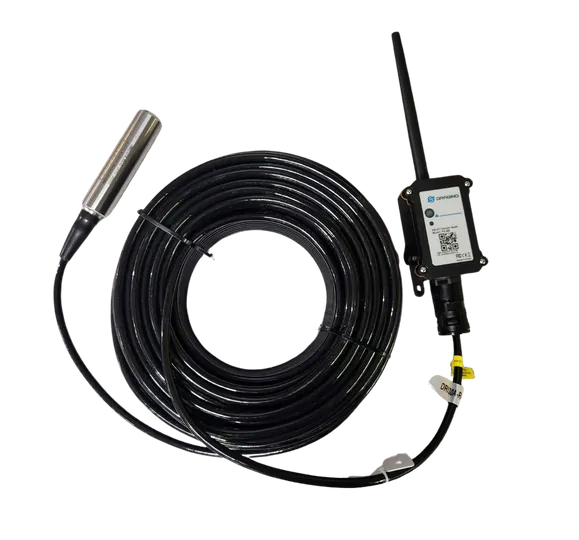
The sensor reads the pressure of the water above it, so it has to sit at the deepest point you want measured, and it has to stay put. The communications unit stays dry on the bank and needs a clear view of the sky for the cellular signal.
Dam or pond install
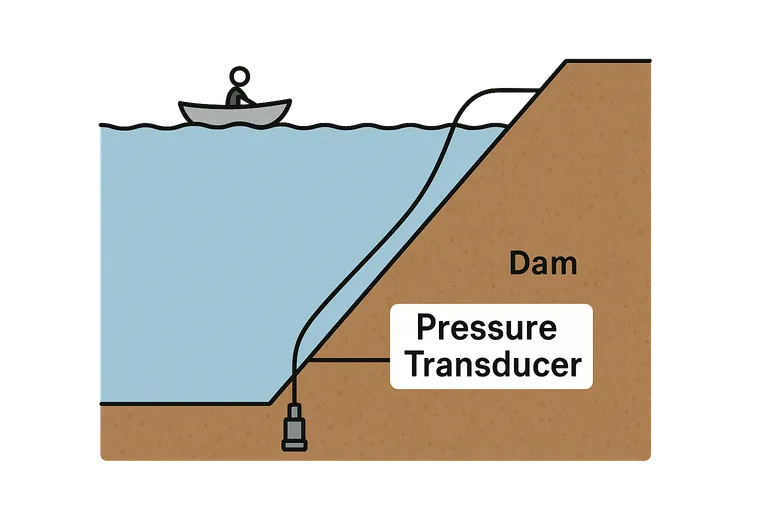
- Attach the antenna to the communications unit, hand tight.
- Add weight (rocks work) to the basket provided, with the sensor inside it.
- Place the sensor safely in the water at the deepest point, or wherever you want the level measured. A boat makes this easy on a large dam.
- Run the cable up to the bank.
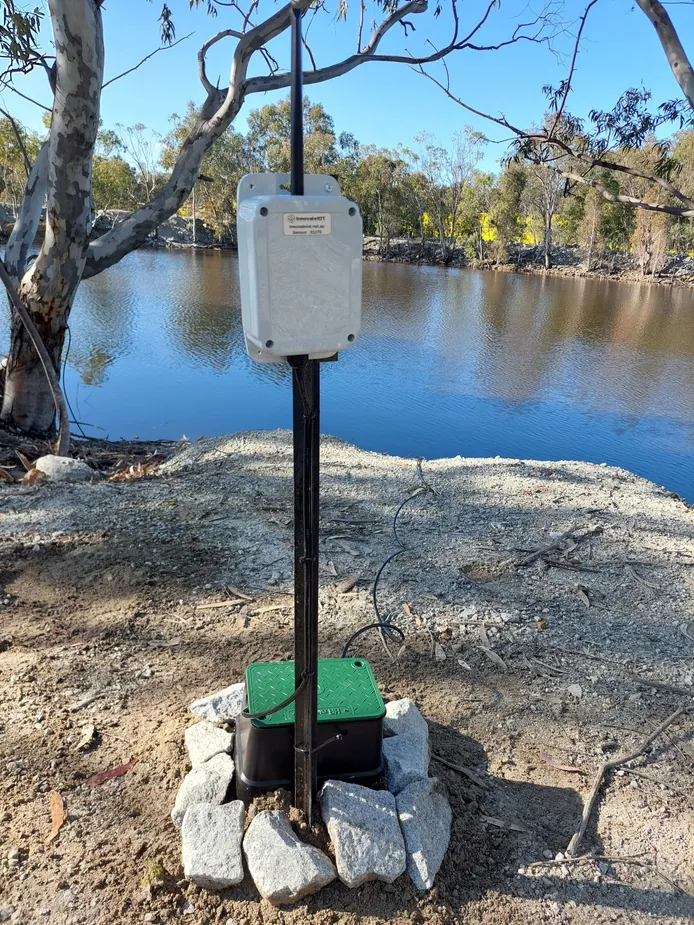
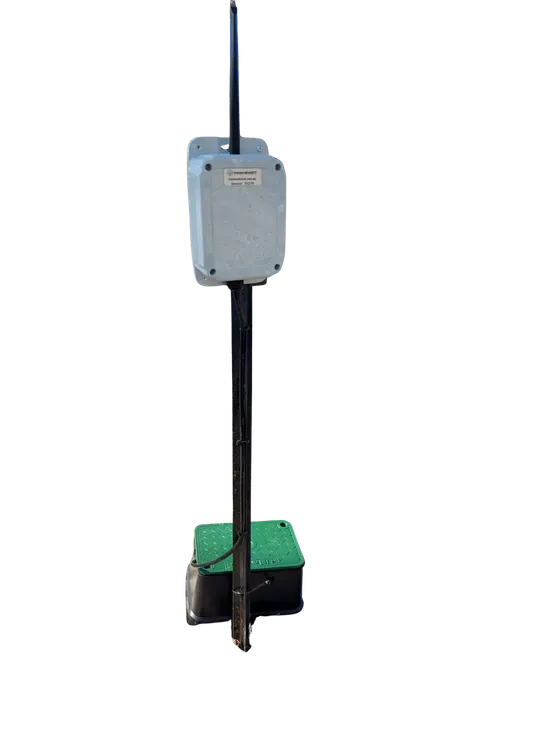
- Mount the communications unit on a steel T-post (fence post) at the bank.
- Wrap the spare cable around the post to secure it.
- Protect the excess cable under the valve box provided.
- Check the dashboard for a reading before you leave the site.
Well install
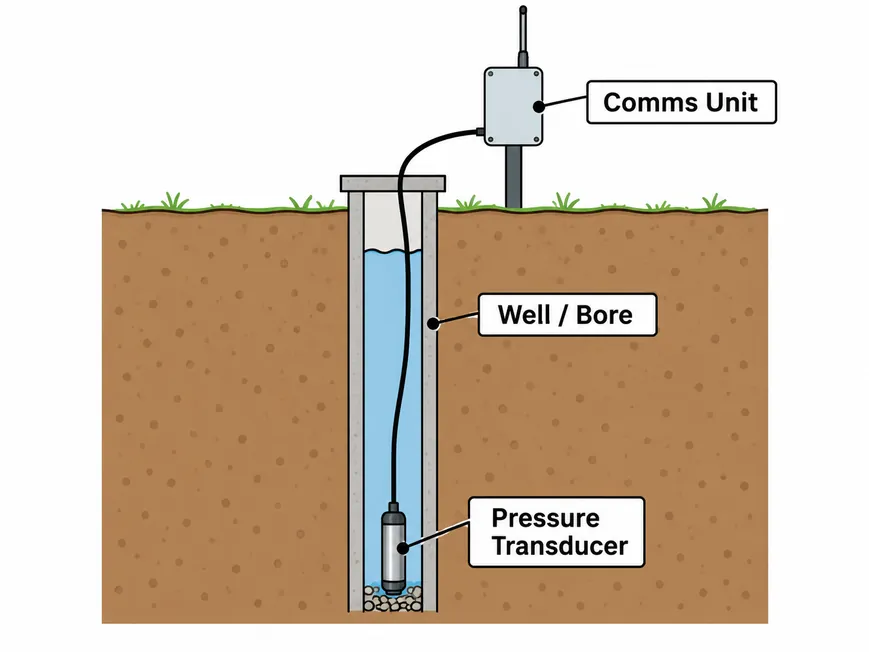
The well pipe must be at least 1 inch in diameter for the sensor to pass.
- Attach the antenna to the communications unit, hand tight.
- Lower the pressure sensor safely down the well pipe on its cable.
- Mount the communications unit on a T-post beside the wellhead.
- Wrap the spare cable around the post to secure it.
- Protect the excess cable under the valve box provided.
- Check the dashboard for a reading, then add the well’s details in the app.
Enter the depth in the app
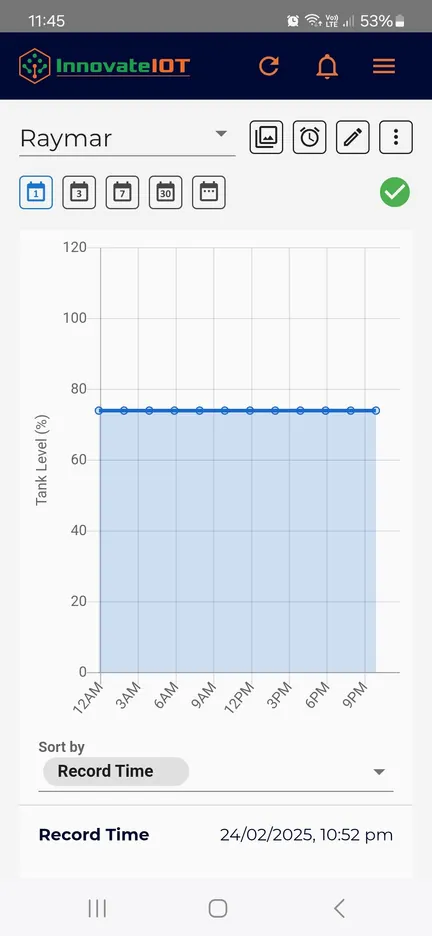
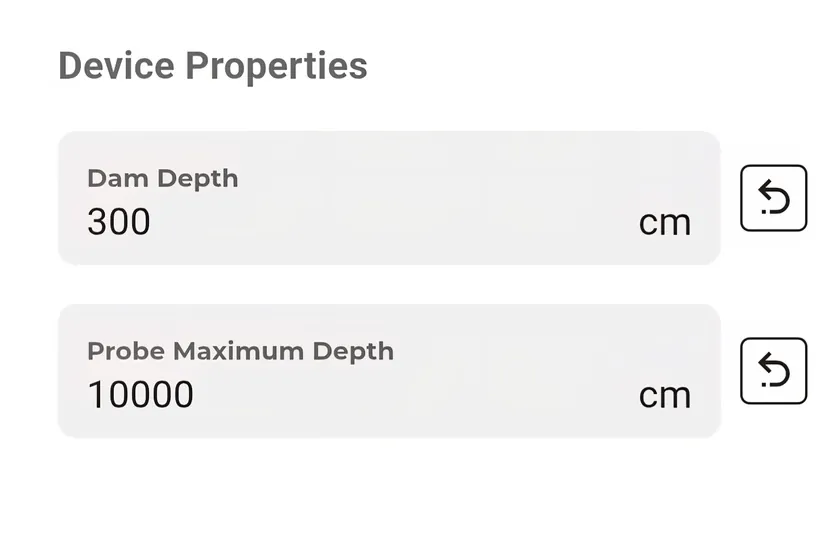
- Open the device you want to edit and tap the pencil icon.
- Enter the dam depth: the depth of water above the sensor when the dam is full. For a well, enter the depth of water above the sensor at its normal static level.
- Leave the probe maximum depth as it ships unless we ask you to change it. It is the sensor’s rated depth.
- Tap Save.
Add an alarm
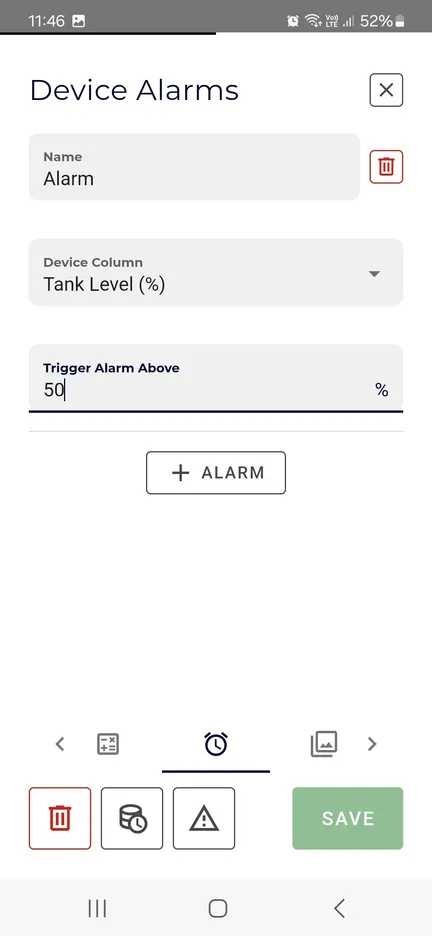
- Open the device, tap the pencil icon, then the alarm bell tab.
- Select the type of alarm: above or below a level, by level % or volume, or a rapid increase or decrease. On a dam, a high-level alarm warns of overflow during a storm; on a well, a low-level alarm catches drawdown before the pump runs dry.
- Enter the level % that triggers the alarm.
- Tap Save, and make sure notifications are turned on for the app in your phone’s settings.
Troubleshooting
- No data: check the antenna is firm and undamaged, check the battery voltage on the last reading is above 2.9 V, then open the communications unit and hold the button for five seconds until the light flashes. Allow up to 15 minutes for the next reading.
- Reading looks wrong: confirm the sensor is still on the bottom and in its basket (a dragged cable moves it), and that the depth entered in the app matches the water above the sensor, not the cable length.
The hardware this guide covers
Every device reports to the same Meterra dashboard and app.
Stuck on a step, or not sure which sensor fits your site? Call or text and a person who has installed these will answer.
Related Meterra pages
- Dam Level Monitor: the product page, with posted pricing and cable-length guidance
- Well monitoring: static level, drawdown, and recovery from the same sensor
- Dam and pond monitoring: low-water and high-water alarms for stock and irrigation supply
- Ultrasonic vs. pressure sensors: why the pressure sensor is the one that keeps reading under ice
Warranty, returns and shipping for every Meterra device are on the Shipping & Returns page.