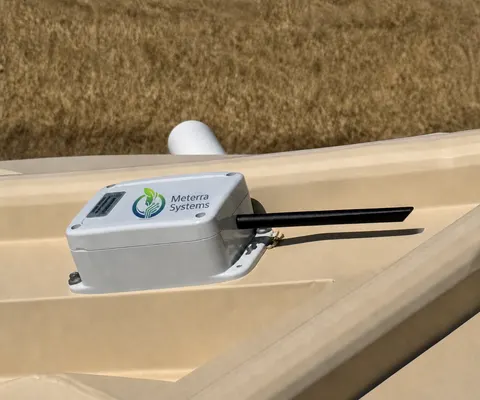
Setting up the Rain Gauge
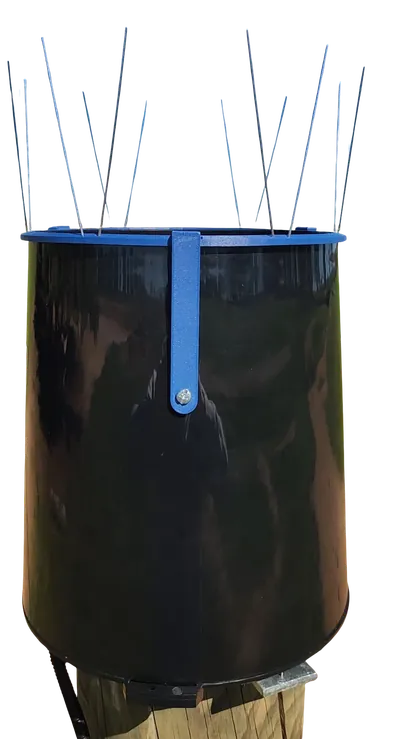
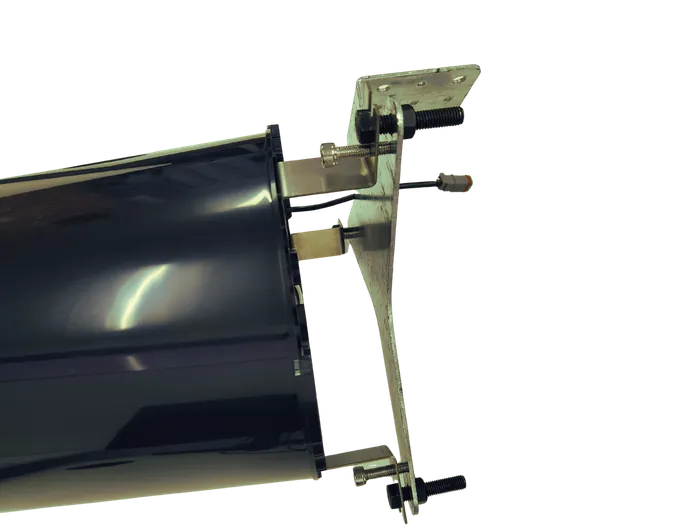
A tipping-bucket gauge with a cellular communications box, a filter screen that keeps leaves and insects out of the mechanism, and the bracket, leveling feet, and bird spikes to mount it. Mount it level, in the open, and the rainfall totals arrive on your phone with month-to-date and year-to-date tallies.
Guide revised October 2026. Questions or a step that does not match your unit? Call (385) 534-8200.
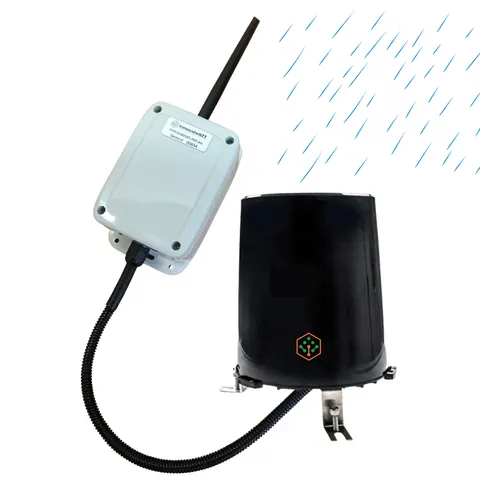
- Sensing
- Tipping bucket under a 7.9 in (200 mm) funnel; a reed switch records every tip
- Resolution
- 0.008 in (0.2 mm) of rain per tip
- Accuracy
- Within 2%
- Reporting
- Rainfall totals every 3 hours, with rain-detected alerts and month- and year-to-date tallies
- Battery
- About 2+ years
- Upkeep
- Insect and leaf filter screen; maintenance reminders in the app
How a tipping-bucket gauge works
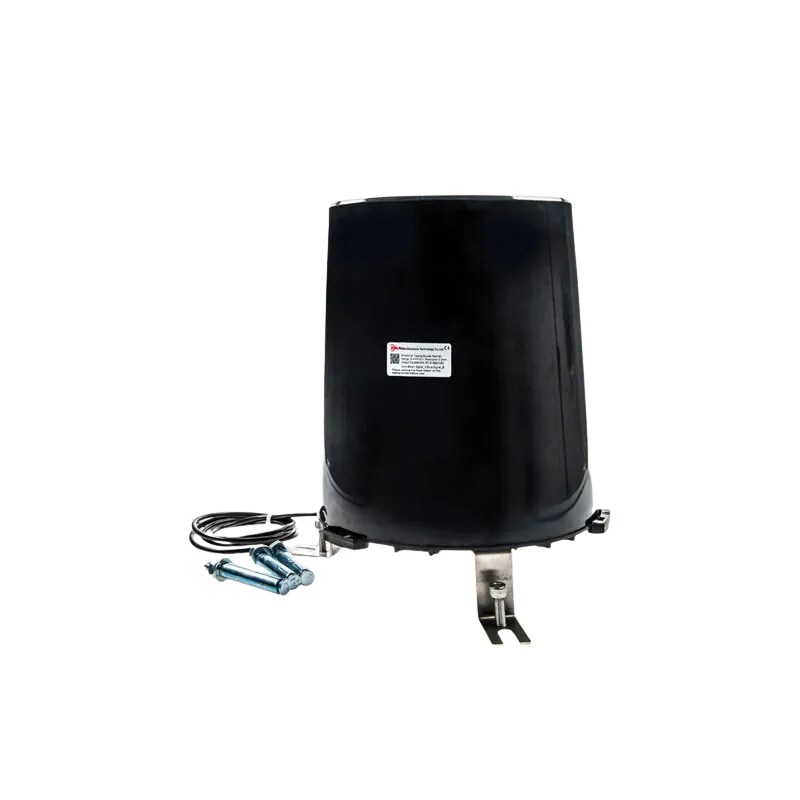
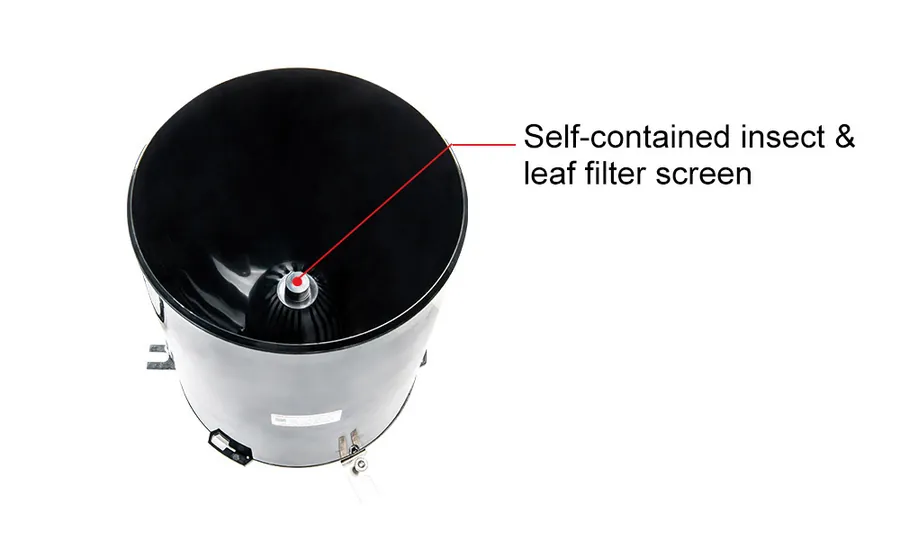
- Rain lands in the 7.9 in (200 mm) funnel.
- When 0.2 mm of water collects, the pivot mechanism tips.
- The tip opens and closes a magnetic reed switch, which records one count.
- The cycle repeats as long as it rains, and the communications box sends the totals to the app.
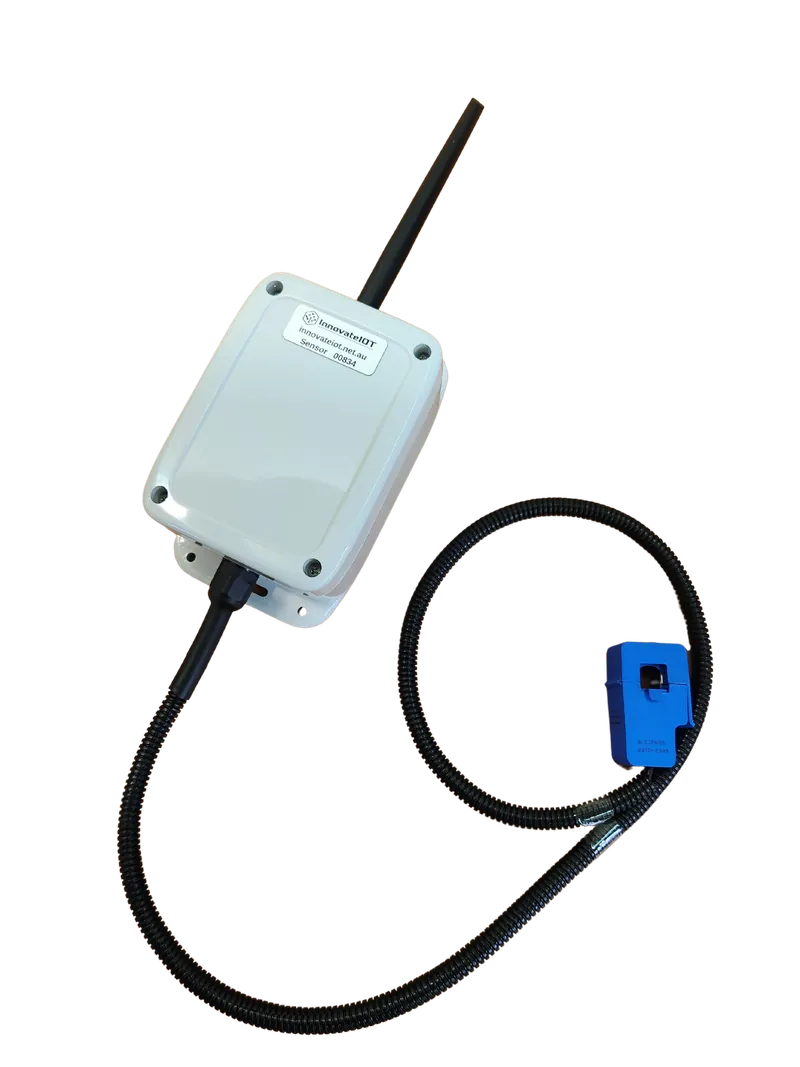
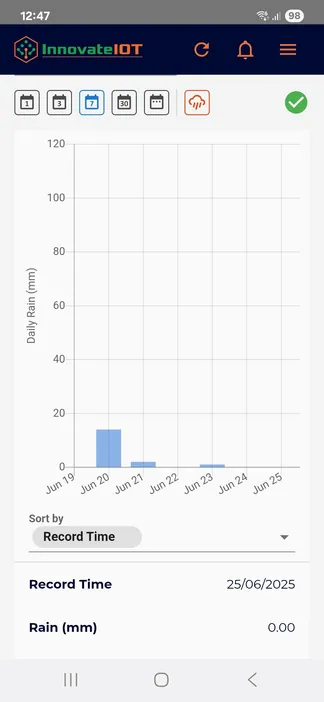
What is in the box
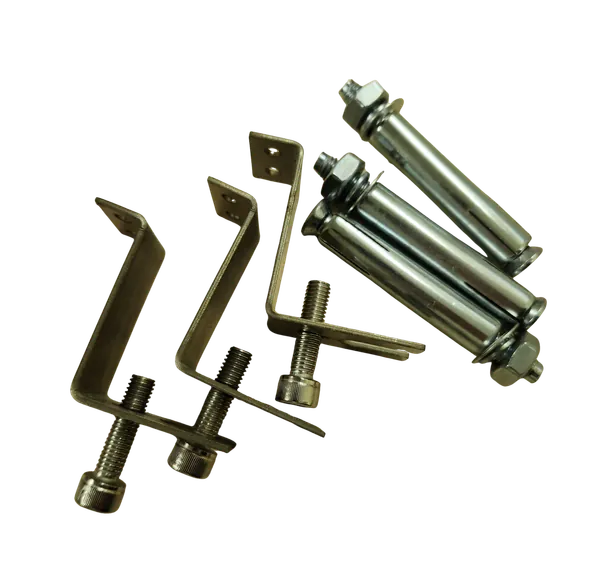
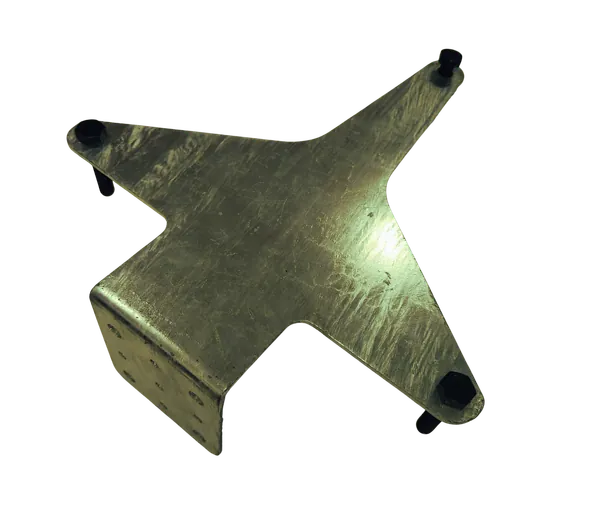
Mount it
- Pick an open spot. Nothing overhanging the funnel: no eaves, no tree canopy, nothing that drips or shades. A pole in the open is ideal.
- Clamp the bracket to the pole with the hardware supplied, high enough that stock and sprinklers cannot reach it.
- Level the gauge with the adjustable feet. A bucket that is not level under-reads, so check it with a small level on the rim.
- Fit the bird spikes around the rim so birds do not perch on the funnel.
- Mount the communications box nearby with the antenna upright and a view of the sky, and attach the antenna hand tight.
- Wake the box if it is in sleep mode: open the cover, hold the button on the black box for 5 seconds until the light goes green and flashes, then screw the cover back on.
- Pour a cup of water through the funnel and check that the app records it.
Clean the filter screen when you are passing, especially after leaf fall, and check the funnel is still level after a windy season.
The hardware this guide covers
Every device reports to the same Meterra dashboard and app.
Stuck on a step, or not sure which sensor fits your site? Call or text and a person who has installed these will answer.
Related Meterra pages
- Rain Gauge: the product page, with posted pricing
- Tracking rainfall across properties: what a gauge on each place tells you that the forecast does not
- Water system automation: a rain gauge can hold irrigation when the sky has done the job
- Weather Station: rainfall plus wind, temperature, and humidity from one unit
Warranty, returns and shipping for every Meterra device are on the Shipping & Returns page.