

Installing the Submersible Tank Level Sensor
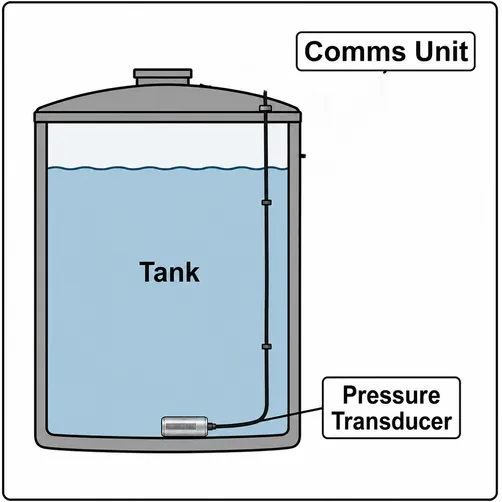
The pressure-sensor option for tanks: a sealed sensor drops to the bottom of the tank on its cable and measures the weight of the water above it, while the communications box mounts on top. The pick for tanks deeper than the ultrasonic range, and for tanks where the surface freezes.
Guide revised October 2026. Questions or a step that does not match your unit? Call (385) 534-8200.
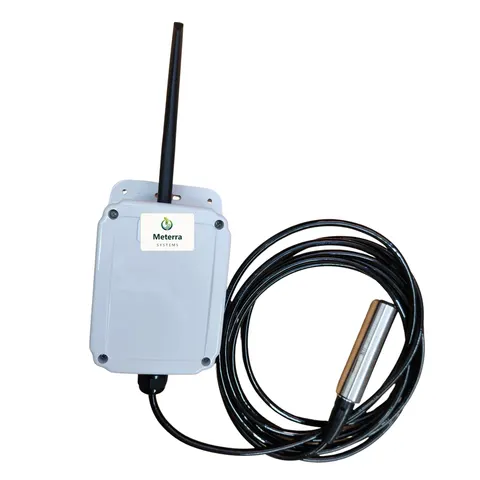
- Sensing
- Submerged pressure sensor. It measures the weight of the water above it.
- Cable
- About 19 ft (6 m) as standard; 10 to 330 ft available, price varies with length
- Mounting
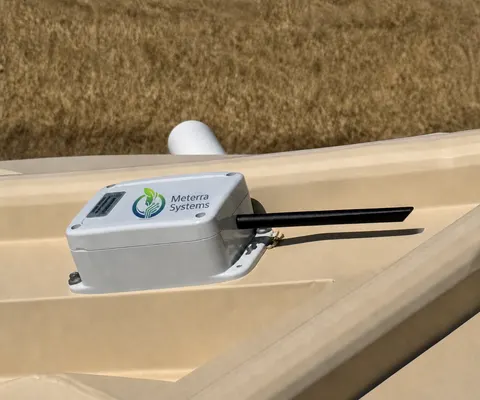
- Communications box mounts on top of the tank; the sensor hangs inside on its cable
- Reporting
- A reading every 60 minutes
- Battery
- 2+ years
- Alerts and users
- Level alarms to your phone; multiple account users
When to use this one
Most tanks suit the ultrasonic Tank Level Sensor, which never touches the liquid. The submersible sensor is the better pick when the distance from the top of the tank down to the lowest level you care about is more than about 23 ft, when the surface freezes in winter (the sensor keeps reading under ice), or when there is no clear path from the roof down to the surface.
Install it
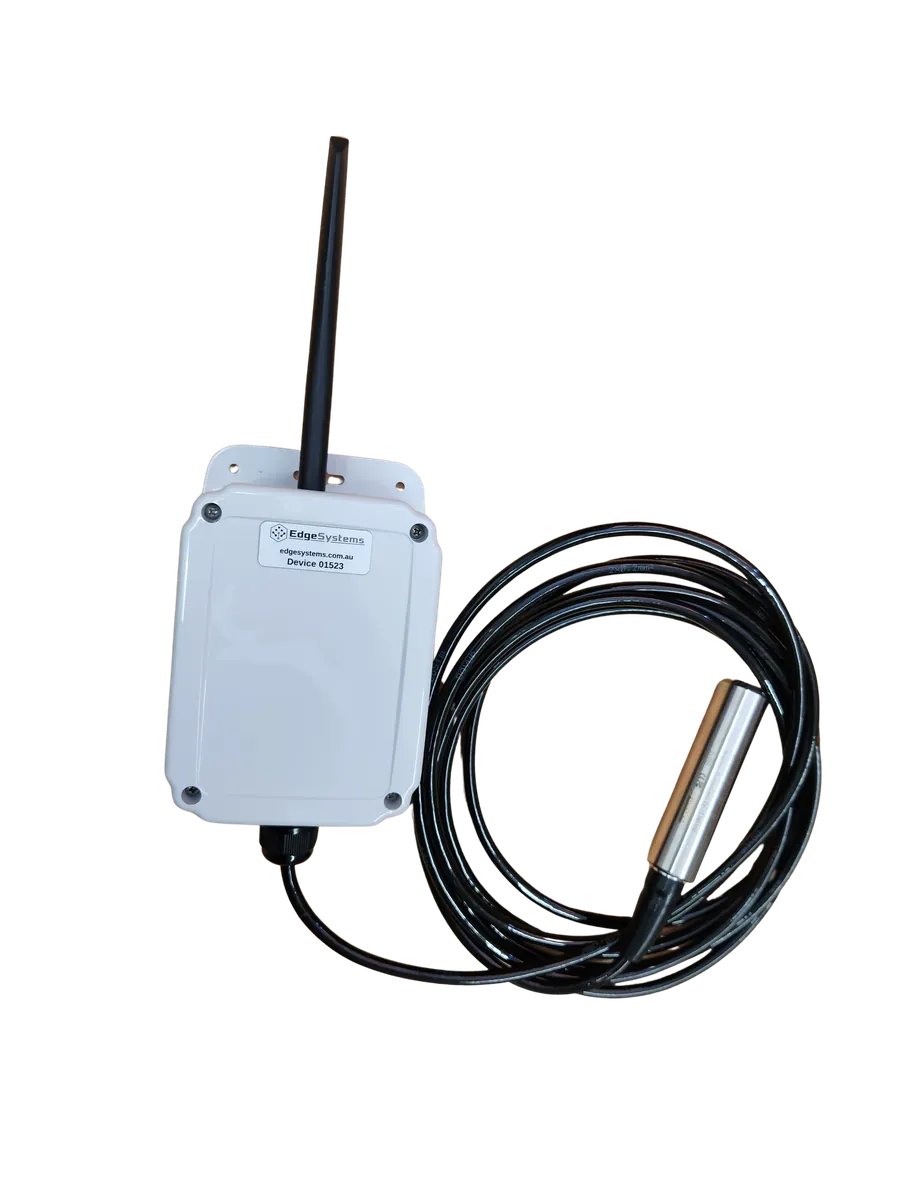
- Wake the device. It may be in sleep mode. Open the cover and press the button on the black box for 5 seconds. Wait until the light goes green and flashes blue (this is a reset). Then screw all four cover screws back in securely.
- Attach the antenna to the communications box, hand tight.
- Make a hole in the top of the tank to pass the pressure sensor through. A 30 mm (1 3/16 in) drill bit is recommended.
- Lower the sensor to the bottom of the tank on its cable.
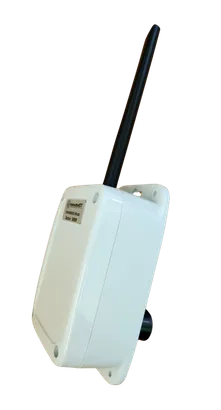
- Fasten the communications box on top of the tank with two to four screws. Custom brackets may be needed for open or unusual tanks.
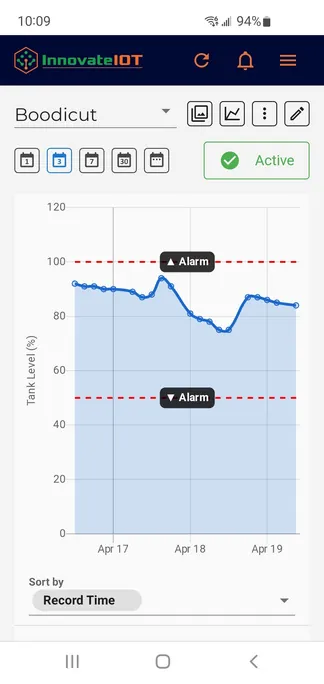
- Check the dashboard for a reading, then enter the tank’s details in the app (the steps are the same as the ultrasonic sensor’s app setup: tap the pencil icon on the device, enter the tank height and volume, save).
Alarms and troubleshooting
Alarms are set the same way as on the ultrasonic sensor: open the device, tap the pencil icon, choose above or below a level, or a rapid change, and enter the trigger percentage. See the alarm steps.
If there is no data, check the antenna, check the battery voltage on the last reading is above 2.9 V, and hold the button for five seconds to reset. Allow up to 15 minutes for the next reading.
The hardware this guide covers
Every device reports to the same Meterra dashboard and app.
Stuck on a step, or not sure which sensor fits your site? Call or text and a person who has installed these will answer.
Related Meterra pages
- Dam Level Monitor: the same pressure sensor, priced by cable length
- Tank Level Sensor installation guide: the non-contact ultrasonic sensor for most tanks
- Ultrasonic vs. pressure sensors: how to choose between the two for a tank
- Cistern monitoring: buried cisterns are a common fit for the submersible sensor
Warranty, returns and shipping for every Meterra device are on the Shipping & Returns page.